I had difficulty implementing [Amazon Simple Notification Service](https://docs.aws.amazon.com/sns/latest/dg/welcome.html) email subscription on one of my Gatsby websites. Yes you've read it well 😊, [Gatsby](https://www.gatsbyjs.com/) , a React-based framework that helps you quickly build and deploy super fast lightweight websites.
In this post I will share, through a demo project, how you can easily implement this feature in your Gatsby website.
## Prerequisites - You need an [AWS account](https://aws.amazon.com/console/) ## Configure Amazon SNS - Open [AWS console and Sign In](https://aws.amazon.com/console/) - In **Services** menu, choose **Simple Notification Service** - On SNS page, choose **Create Topic** 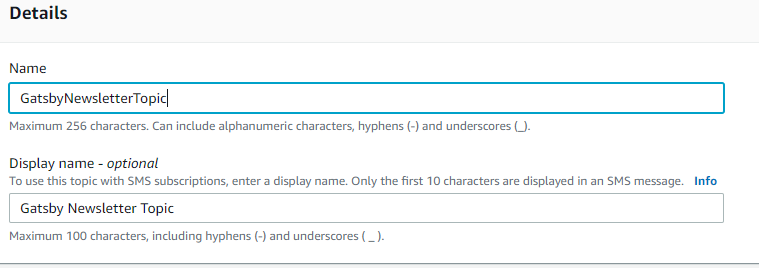 - Give a **Name** (here it's : *GatsbyNewsletterTopic*) - Give a **Display name** (here : *Gatsby Newsletter Topic*) - Leave optional configurations and hit Create topic - Note the ARN (here, *arn:aws:sns:us-east-1:...:GatsbyNewsletterTopic*) 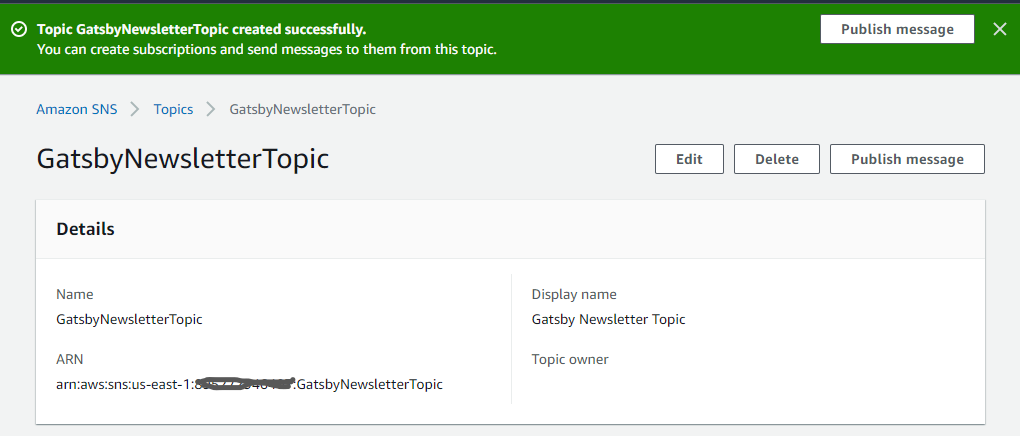 ## Create a AWS programmatic user for [aws-sdk](https://aws.amazon.com/sdk-for-node-js/) - In the same AWS console with the same signed In user for above sns topic, choose **IAM** in Services menu - Choose **Users** in the IAM Dashboard and clic on **Add user** 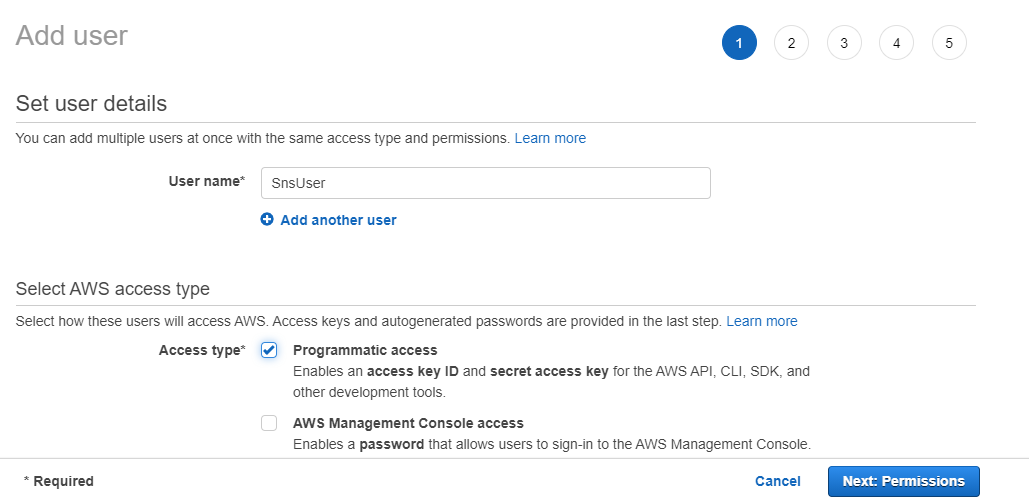 - Give the user name (here : *SnsUser*) - Select : **programmatic access** and clic Next permission - In the **Set permissions** tab, select **Attach existing policies directly** - In the Policies table, search for **AmazonSNSFullAccess** and check it - Then hit Next - Next - create. 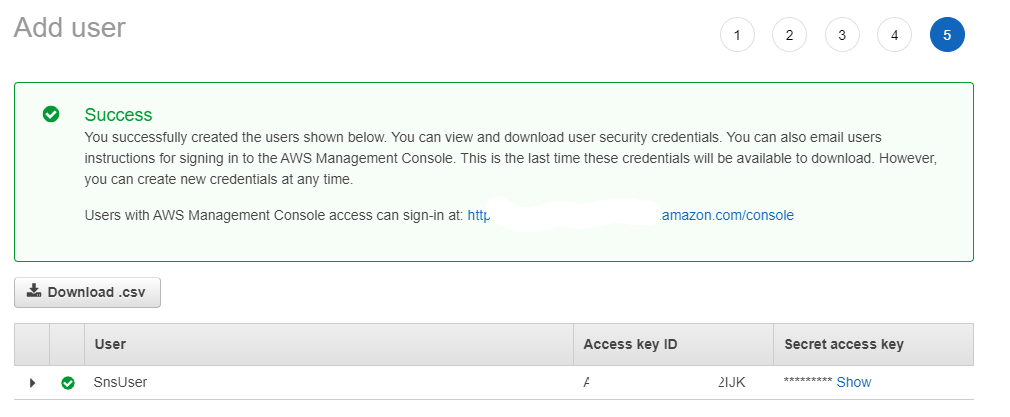 - Copy or download the created user's cridentials (Access key ID and Secret Access key) for next steps. ## Setting up the Gatsby website projectNow that we've created the sns subscription endpoint and the according user on AWS, we are going to setup our project.
- Create a new project : `gatsby new my-gatsby-project https://github.com/gatsbyjs/gatsby-starter-default` - In the root of the project, type `gatsby develop` to run - Open the browser and type : `http://localhost:8000` 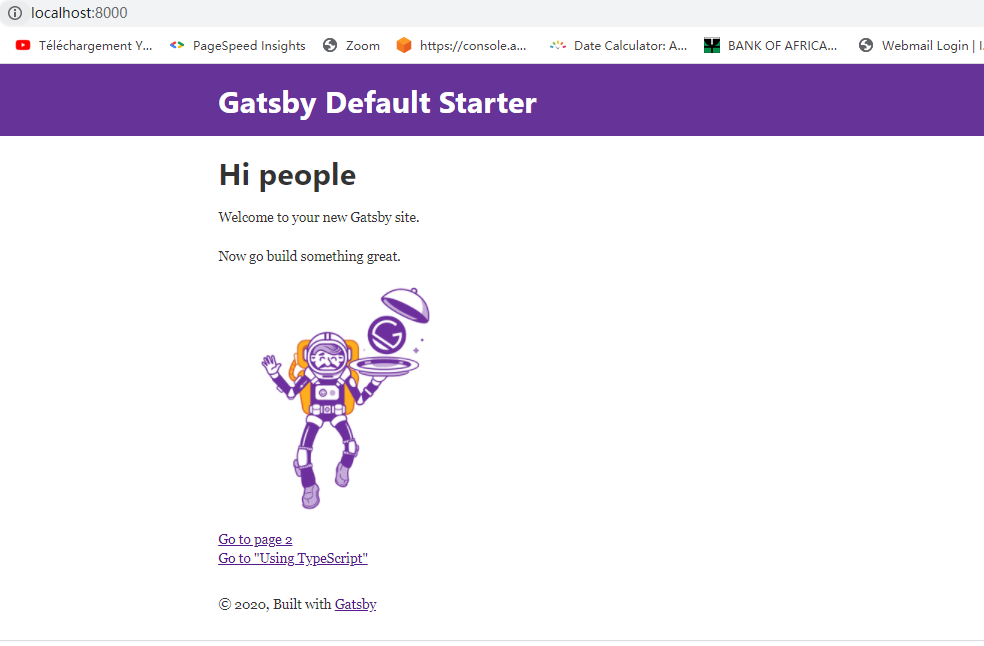 ## Create Subscription component - In the component folder, create : subscribeform.js file - Install aws-sdk in the gatsby project `npm install -save aws-sdk` - Install [Formik](https://formik.org/) and [Yup](https://www.npmjs.com/package/yup) schema builder `npm install formik yup` - Copy and paste the below code snipet ``` import React from "react" import { useFormik } from "formik" import * as Yup from "yup" export default function SubscribeForm() { const formik = useFormik({ initialValues: { email: "", }, validationSchema: Yup.object({ email: Yup.string().email().required(), }), onSubmit(values, { resetForm }) { const { email } = values }, }) return ( ) } ``` - Add **subscribeform.js** component in the index page, **index.js** must look like this : ``` import React from "react" import { Link } from "gatsby" import Layout from "../components/layout" import Image from "../components/image" import SEO from "../components/seo" import SubscribeForm from "../components/subscribeform" const IndexPage = () => (Welcome to your new Gatsby site.
Now go build something great.
So far, everything works well as expected, but if you clic on subscribe button, nothing happens 🤣, yes, because we haven't done anything so great, everbody who've gone through Gatsby tutorials could have done what we did! Let's add some codes to our **subscribeform.js**.
- Add a **config.json** file in the root for AWS cridentials, it should look like this: ``` { "accessKeyId": "secret", "secretAccessKey": "secret", "region": "secret" } ```**Nota bene** : You must replace "*secret*" with the corresponding **accessKeyId** , **secretAccessKey** and **region** values you've got in the **Create a AWS programmatic user for aws-sdk** section.
**Warning** : It is not a best practice to put app cridentials in a project, I'll have a post for how to do that, but for this subscription purpose, we'll not follow this best practice 🤦♂️. Let's move on!
- In the **subscribeform.js** , under the last import instruction, add the following lines: ``` import AWS from "aws-sdk" const AWSConf = require('../../config.json'); AWS.config.update(AWSConf); ``` - In the onSubmit() method add the following instructions after const {email}=values line : ``` var params = { Protocol: "EMAIL" /* required */, TopicArn: "yourArn" /* required */, Endpoint: email, } var subscribePromise = new AWS.SNS({ apiVersion: "2010-03-31" }) .subscribe(params) .promise() subscribePromise .then(function (data) { resetForm() //reset the form }) .catch(function (err) { console.error(err, err.stack) }) ``` **Nota bene** : In the TopicArn: "**yourArn**" instruction, replace *yourArn* by the ARN generated through **Configure Amazon SNS** section. Voilà! You've done the great thing 👍. - The subscribeform.js code should look like this : ``` import React from "react" import { useFormik } from "formik" import * as Yup from "yup" import AWS from "aws-sdk" const AWSConf = require('../../config.json'); AWS.config.update(AWSConf); export default function SubscribeForm() { const formik = useFormik({ initialValues: { email: "", }, validationSchema: Yup.object({ email: Yup.string().email().required(), }), onSubmit(values, { resetForm }) { const { email } = values var params = { Protocol: "EMAIL" /* required */, TopicArn: "yourArn" /* required */, Endpoint: email, } var subscribePromise = new AWS.SNS({ apiVersion: "2010-03-31" }) .subscribe(params) .promise() subscribePromise .then(function (data) { resetForm() //reset the form }) .catch(function (err) { console.error(err, err.stack) }) }, }) return ( ) } ``` - Refresh the browser and put a valid email address then submit. The input field will be automatically reset on success, and a Subscription Confirmation email will be sent to the provided email address. 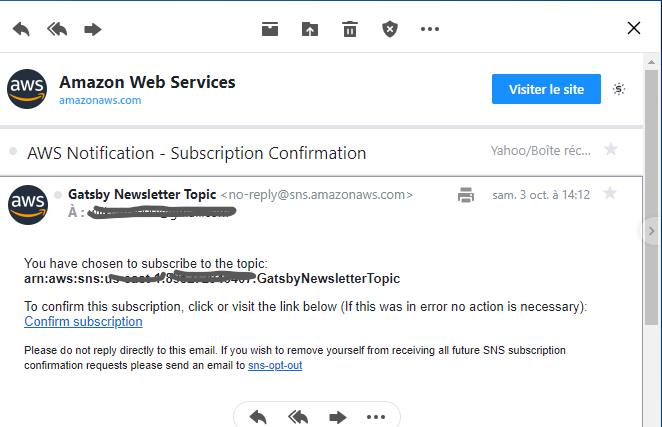 ## ConclusionWell done! You have implemented an Amazon SNS email newsletter subscription in your Gatsby website.
You can find the source code [here](https://github.com/wilkom2009/wil-sns-project.git) .