# How to secure Spring boot REST API endpoints with Amazon Cognito
Hello! For Java backend developers, with [Spring security](https://docs.spring.io/spring-security/reference/getting-spring-security.html) there are many ways to secure [Spring boot](https://spring.io/projects/spring-boot) Rest APIs.
Usually, implementing Spring boot bearer token functionality for Rest API requires many lines of code, hours, and the need for user management. However, using Spring boot AWS authentication thanks to [Amazon Cognito](https://aws.amazon.com/cognito/), things become very simple and very very fast. We no longer need to manage users, [Amazon Cognito user pool](https://aws.amazon.com/cognito/) takes care of that. Cognito also allows us to share users between many Rest APIs and front-ends (web, mobile).
## Create Amazon Cognito User Pool
1. Sign in into [Amazon console](https://console.aws.amazon.com/console/home), and then search for: Cognito.
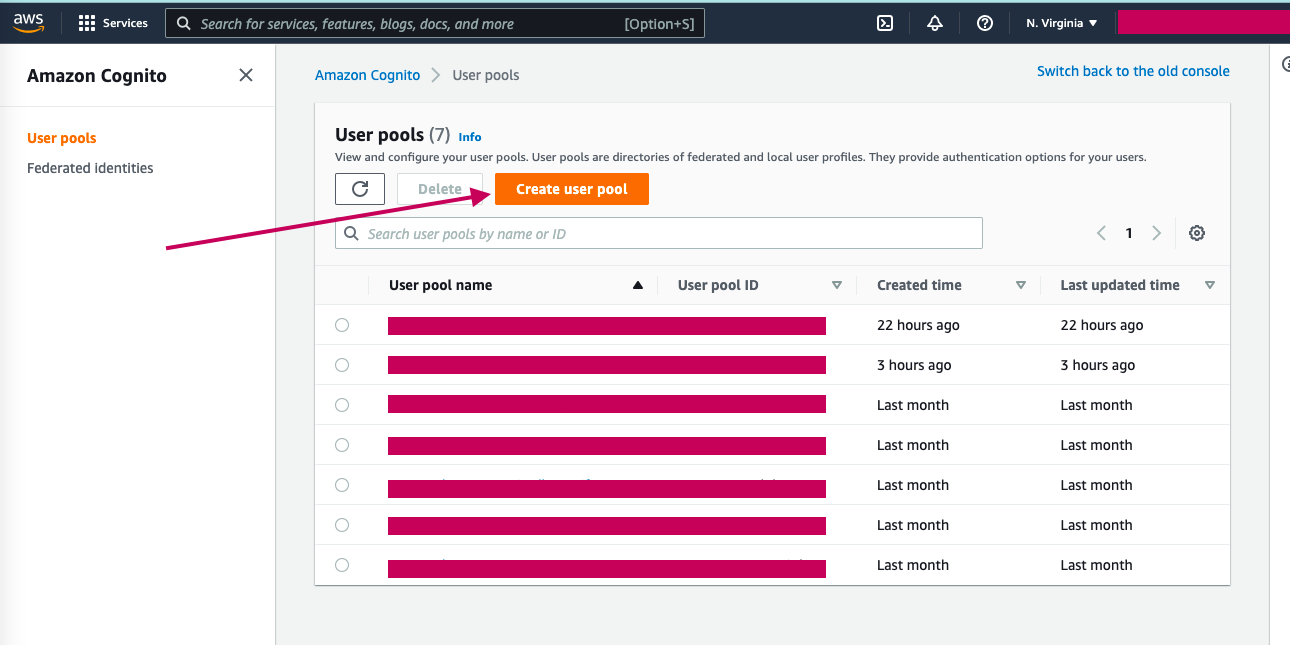
2. Click on **Create User Pool**.
3. In the _Configure sign-in experience_ step, check **User name**, **Email**, and **Allow users to sign in with a preferred user name** options then click on **Next**.
4. In the _Configure security requirements_ step, leave all the default options except **MFA enforcement** where you should choose **No MFA** instead of **Require MFA - Recommended**, then click on **Next**.
5. Step 3 : _Configure sign-up experience_, leave all default options, and click on **Next**.
6. Step 4: _Configure message delivery_, choose **Send email with Cognito** for **Email provider** and leave all other default options then click on **Next**.
7. Step 5: _Integrate your app_, provide the **User pool name** : _**Demo-user-pool**_, **App client name**: _**Dockerdemo-app**_, leave other default options, and click Next.
8. Step 6: Review and click on **Create User Pool**.
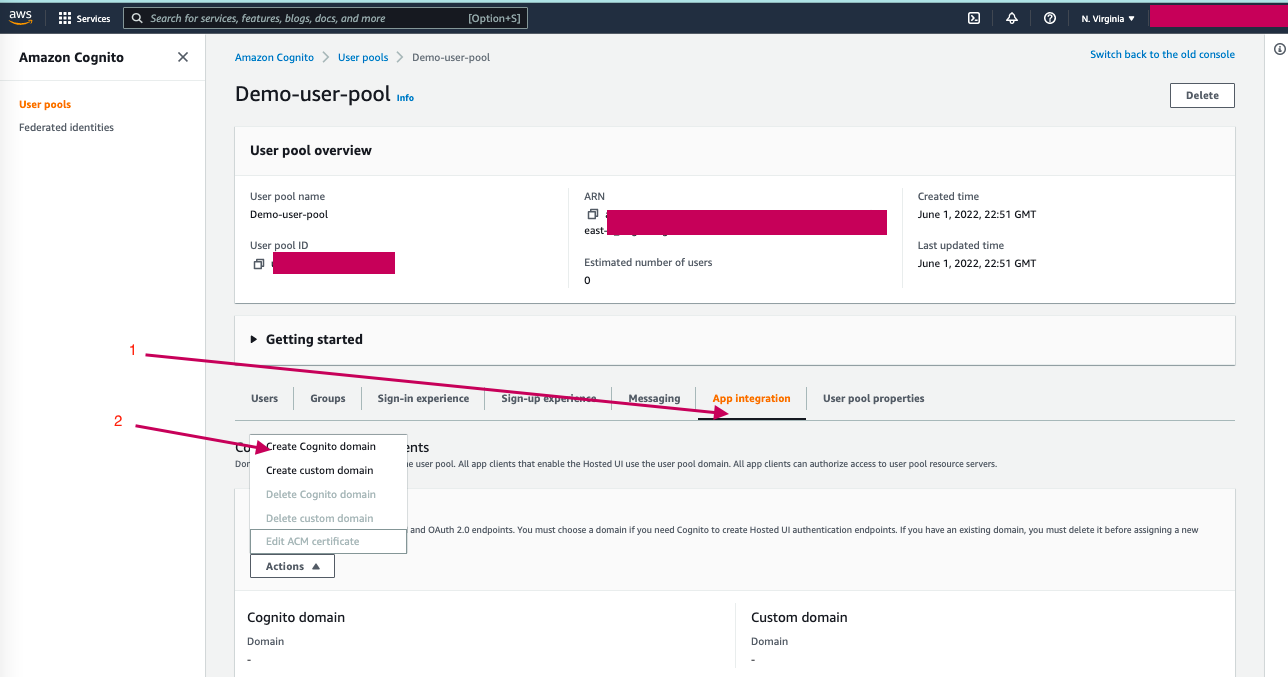
9. In the details page of the created user pool, click on **App Integration** tab -> **Actions** -> **Create Cognito Domain** and provide the domain name then click **Create Cognito Domain**.
10. Again, in the **App Integration** tab, navigate to the **App client list** section and click on **Dockerdemo-app** to preview its details.

11. In the **App client** details, scroll down to the **Pinpoint analytics** section and click on **Edit**, the **Edit Hosted UI** page will open.
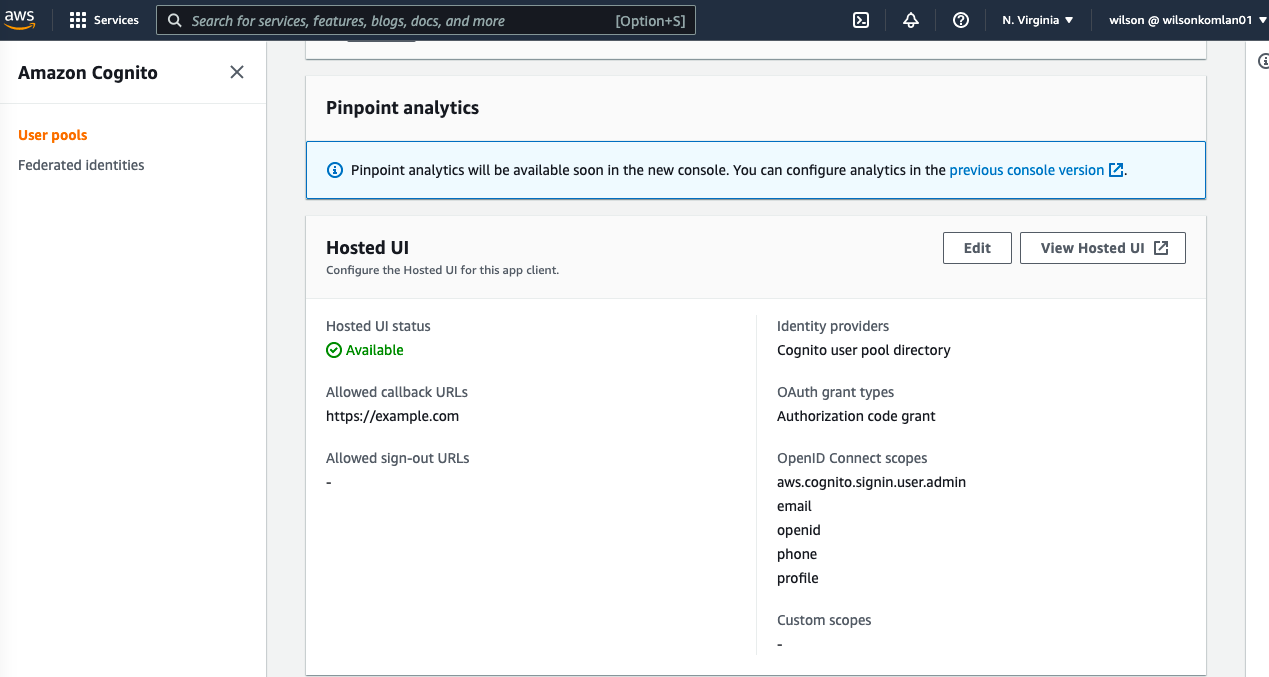
12. In the **Edit Hosted UI** page, provide the **Allowed callback URLs** : https://example.com, check **Cognito user pool** in the **Identity providers** section, check all **OpenID Connect scopes** options then click **Save changes**.
13. Back to the **App client** details, the Pinpoint analytics section should look like the image below:
14. Make sure to save the Cognito domain from the **Domain** section, and the **Client ID** for the created client App from the **App client list** section.
## Create Spring boot Rest API
In this section, we will create a spring boot Rest API. For demonstration purposes, you can clone the Git hub repository [here](https://github.com/wilkom2009/docker-demo.git) and open it in your favorite IDE.
The idea here is to implement Spring Security Rest API authentication with [OAuth 2.0 JWT Bearer Tokens](https://docs.spring.io/spring-security/reference/servlet/oauth2/resource-server/index.html).
Instead of implementing the [JWT authentication tokens generation mechanism](https://wilkom2009.hashnode.dev/java-fullstack-backend-rest-api-spring-security-and-jwt-a), we will use Amazon Cognito to manage it.
1. Provide the needed dependencies in the **pom.xml** file for Spring Security OAuth 2.0 support
```xml
org.springframework.boot
spring-boot-starter-security
org.springframework.boot
spring-boot-starter-oauth2-resource-
server
```
2.
In the **application.yaml** file, specify the Authorization Server:
```yml
spring:
security:
oauth2:
resourceserver:
jwt:
issuer-uri: https://cognito-idp.[AWS REGION].amazonaws.com/[USER_POOL_ID]
```
3. Create a security configuration file.
```java
package com.wilkom.dockerdemo.security;
import org.springframework.context.annotation.Bean;
import org.springframework.security.config.annotation.method.configuration.EnableGlobalMethodSecurity;
import org.springframework.security.config.annotation.web.builders.HttpSecurity;
import org.springframework.security.config.annotation.web.configuration.EnableWebSecurity;
import org.springframework.security.web.SecurityFilterChain;
@EnableWebSecurity // Enable Spring Security’s web
//security support
@EnableGlobalMethodSecurity(securedEnabled = true, prePostEnabled = true) // To configure method-level security
public class SecurityConfig {
@Bean
public SecurityFilterChain filterChain(HttpSecurity http) throws Exception {
http.cors().and().csrf().disable()
.authorizeRequests(expressionInterceptUrlRegistry -> expressionInterceptUrlRegistry
.anyRequest().authenticated())
.oauth2ResourceServer().jwt();
return http.build();
}
}
```
>In the configuration class above, we have made each endpoint accessible only by OAuth 2.0 authenticated requests. That's all we have to do in our API Rest backend.
## Test the Rest API
We will use Postman to test our Rest API.
1\. Signup user into the Amazon Cognito
-
Open Postman and provide values from Amazon Cognito User provider settings:

>2/ Callback URL: https://example.com (make sure to provide the exact callback URL you set in the Cognito)
>3/ Auth URL: https://xxxxx.auth.us-east-1.amazoncognito.com/login (remember to append /login)
>4/ Access Token URL : https://xxxxx.auth.us-east-1.amazoncognito.com/oauth2/token (remember to append /oauth2/token)
>5/ Client ID : Dockerdemo-app **App Client ID**
- Then click on **Get New Access Token** at the bottom, and the Sign-in screen will open, click on Sign up link at the bottom the get the signup screen as follow:
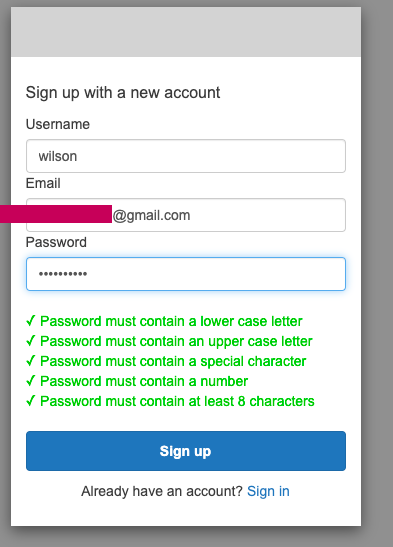
>Enter the user name, valid email and password then click on Sign-up.
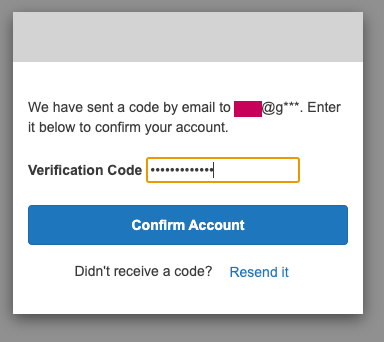
- The verification code screen should appear, open the valid email box to get the verification code:
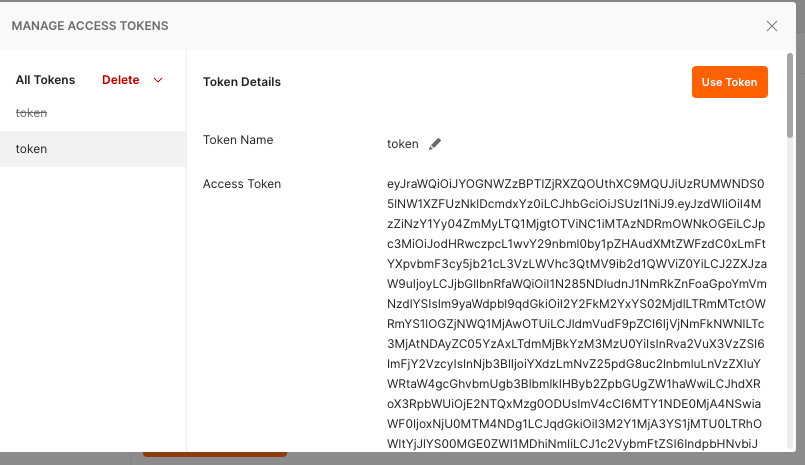
- If the code verification is successful, a token will be generated, click on **Use Token**:
2\. Make API call
-
Now, you can run the Spring boot app.
- Go to Postman, enter a GET endpoint URL,
```bash
localhost:8080/api/
```
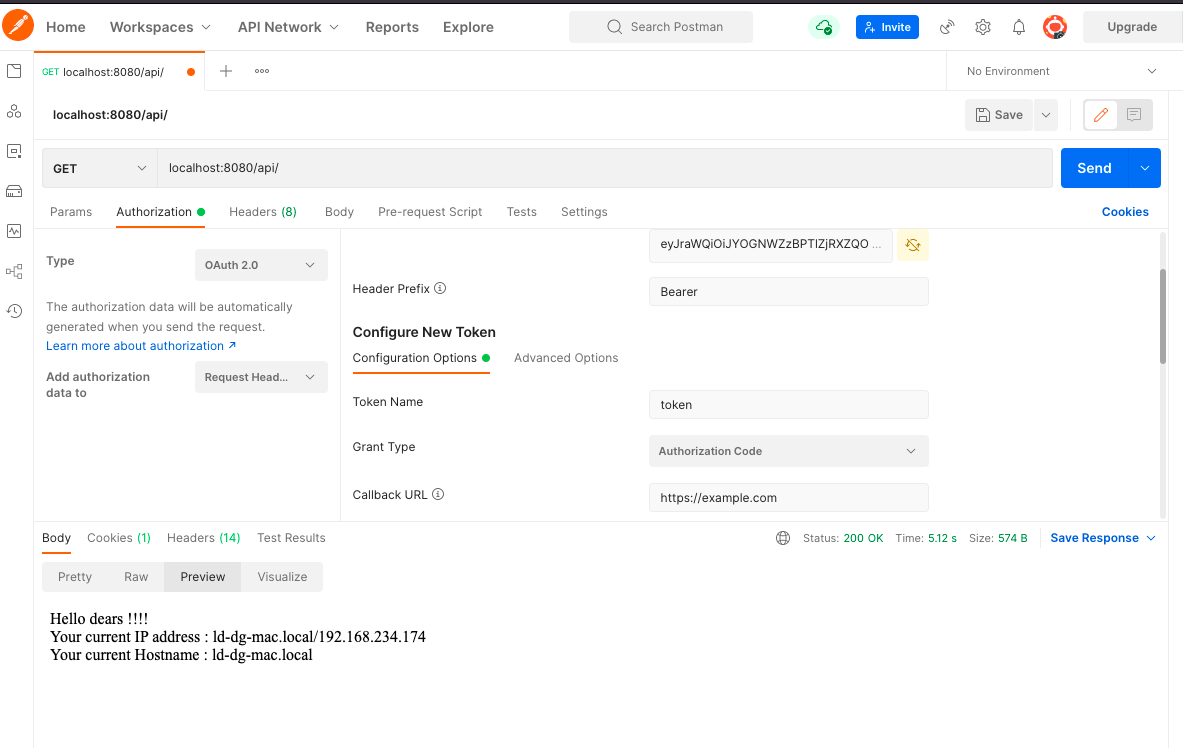
-
Make sure the token is in use in the Authorization OAuth 2.0 tab and click on **Send**:
>PS: In a real project, the Signup and Sign-in processes will be implemented in the front-end apps, please see [this guide](https://aws.amazon.com/cognito/getting-started/) to do so.
As you can see, Amazon Cognito is an amazing AWS service that simplifies Spring boot backend Rest API user management.
Thanks for reading.